Building A Pedal Board
Materials used:
Wood (some)
Velcro Loop - Self Adhesive (lots)
Velcro Hook - Self Adhesive (some)
Glue (wood, strong)
Tools (various)
Woodworking Ability (limited)
Over inflated opinion of woodworking ability (highly developed)
Planning:
First thing you will need to do is draw yourself up a plan.
 |
| Ensure the plan is over ambitious. |
Be sure to place your pedals on your plan too make sure they will fit comfortably. Leave extra space for new pedals as you don't want to have to build another board next time you buy a new pedal.
My plan consists of a base board (62x27cm) and three slats in the centre (1 40x7, 2 40x5) raised on an angle using 4 triangular struts.
The Build
Ensure your work area is cluttered, indoors and full of dogs.
 |
| This will make everything more interesting later |
Venture to the shed where you're sure you have some wood that should be fine for this.
 |
| Grab workbench and tools whilst you're there. |
Bring wood inside and inspect it for suitability.
 |
| If possible, do this when it's raining to make sure the wood gets wet. |
Realise the wood is warped and unusable thanks to your leaky shed (which you also built after overestimating your woodworking skills).
Realise you're going to need to go to the hardware store to buy some wood. Forget you have a cable guy booked to come over to fix an issue with your TV and broadband. Go to B&Q. Realise you need to buy a giant piece of MDF because the smaller sizes are about 6 inches too small in one dimension. Have the employee cut it for you. Buy a jigsaw anyway because it's on offer for £20. Bargain!
Arrive back home to find out the cable guy has been and gone. Phone and rebook for two weeks from now. Curse.
 |
| Contemplate why you didn't just buy a pedal board. |
As the helpful employee has done most of the cuts for you, all you will need to do now is the struts.
 |
| The giant boards at the back (there's two) and the one with the label is offcut. It was a really big piece of MDF. |
Set up the workbench, mark up your struts, cut with new jigsaw. Forget to take photos because you're too excited about your new jigsaw.
Realise you're terrible at using a jigsaw and that there's now sawdust just everywhere. Cut another strut from an offcut to replace the shit one.
 |
| You can see the quality of the cuts in this photo. |
Use a coping saw (badly) to cut out the arches that will allow wires to pass through.
Glue the outside edge strut to the first 40x5 slat, ensuring you line up the edges. Clamp. Glue on central 40x7 slat, ensuring a gap of 5cm all the way along. Clamp. Glue on final 40x5 slat, again ensuring the gap. Snap clamp trying to clamp.
 |
| Take photo when you should be holding the last slat till it dries. |
Allow to dry. Repeat on the other side.
 |
| Fucking shitty clamps... |
Show amazing foresight by actually making sure the central struts are spaced to leave space for the power supply.
Apply glue, place struts and clamp ends. Place a board on top to add some weight to hold it all down. Leave to dry.
Place on the base board, using your plan and pedals to check positioning.
 |
| Realise your struts aren't flat. Sand struts. Fuck it, good enough. |
Mark off the strut positions for gluing.
 |
Glue, position, ensuring it's all flush at the edges. Weigh it all down to compensate for uneven struts. Hope.
Whilst that's drying, prepare Velcro Loop.
 |
| So much Velcro loop. |
Mark on the back two 5x40 pieces, a 7x40, a 27x11 and a 27x13. Cut the pieces.
Peel back the backing on the Velcro and stick it all on. Make sure edges are all flush.
 |
| Be absolutely astounded by how good it looks! |
Build finished!
Pedal Placement
Figure out how you want all your pedals placed (this isn't final. Thanks to the Velcro you can reposition later).
You will probably need to remove the feet from some pedals.
Either stick the Velcro hook on and cut to size...
Or just cut squares of about the right size. It doesn't need to be perfect.
Do all the pedals.
 |
| Stick to the board. |
Realise at this point that the screws that were holding the feet on were also holding the bases on.
 |
| Shit. |
Replace screws. Wire it all up. Use the gaps in the struts to run the wires.
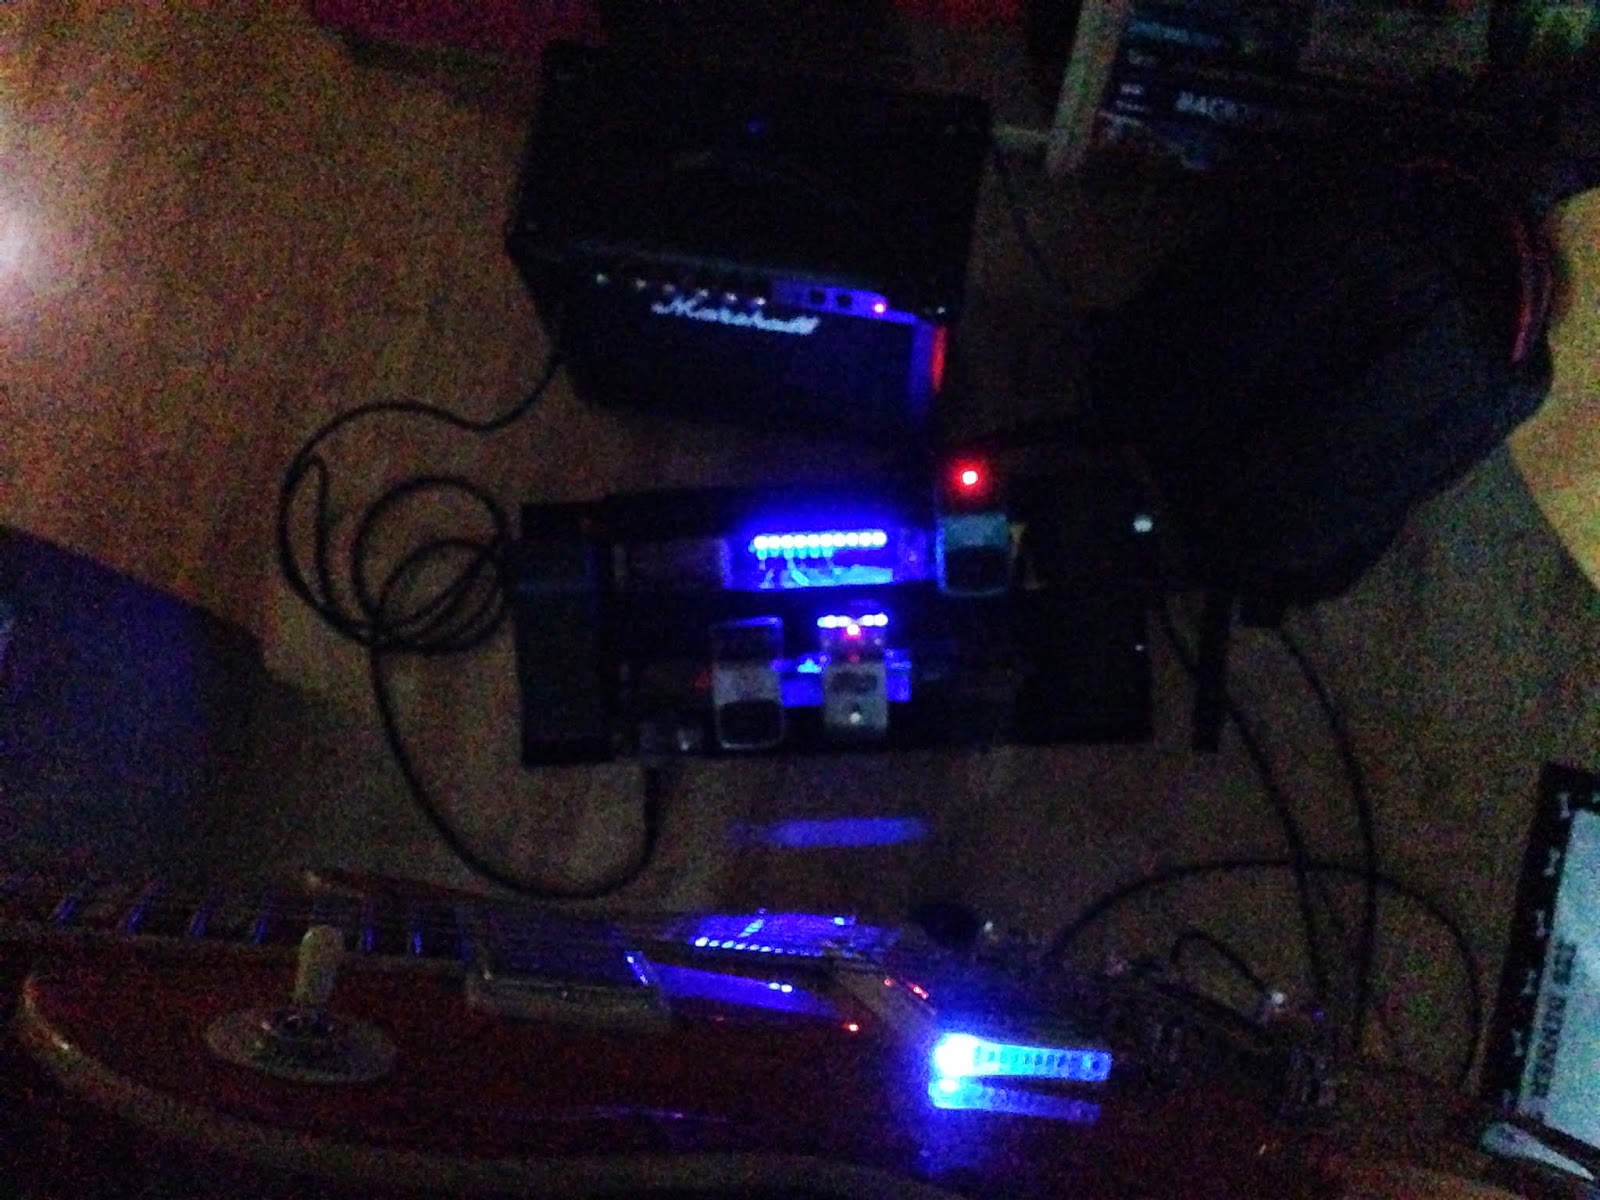
Power that bad boy up!
Rock out!
Congratulations! You've just built an awesome looking pedal board!


No comments:
Post a Comment